
How to Make a Product Demo Video From the Command Line
A product demo video CLI guide for developers: install DemoVexa with npm, start it from the terminal and let Claude Code ask it for videos.
 Baltej Singh · Founder, DemoVexa 5 min read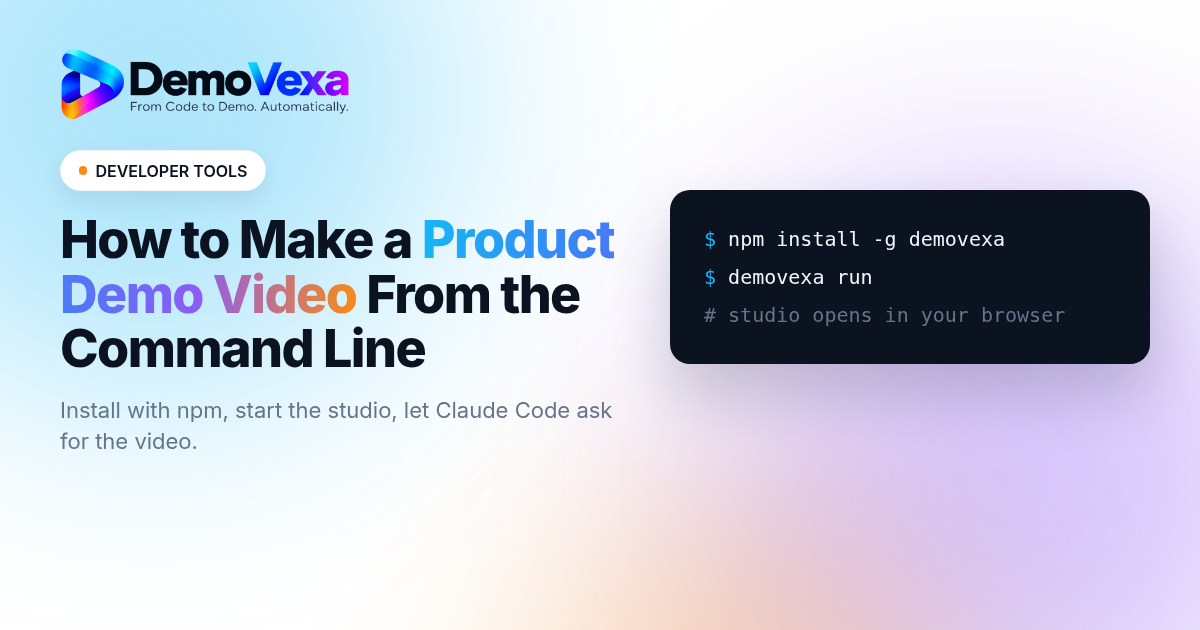
The DemoVexa product demo video CLI lets you make a demo from the command line: install DemoVexa with npm, start it with one command, and ask Claude Code to make the video for you. The terminal handles install, start, updates and logs, while the studio does the scripting, voiceover and animation from your app's code. The result is a narrated MP4 in 16:9, 9:16 and 1:1, made on your own computer.
#Why would a developer use a product demo video CLI?
Because the terminal is already open. If you just merged a feature, switching to a separate app and clicking through a wizard is the step that gets skipped. A command you can run in the same window, or a request you can type to Claude Code, has a better chance of happening on release day.
A CLI also fits machines where you'd rather not install a desktop app, such as a Linux box you reach over SSH or a laptop where you keep tools in npm. The DemoVexa docs describe the npm version as "the same studio" as the desktop app, on macOS, Windows and Linux.
There is one thing to be clear about. This is not a headless renderer you script line by line. The CLI starts and manages DemoVexa. The video itself is made in the studio, either by you or by Claude acting on your behalf.
#How do you install the DemoVexa CLI?
Install it from npm, then start it. You need Node.js 20 or newer.
npm install -g demovexa
demovexa run
The first run downloads the current build (about 350 MB), sets up the video engine and opens DemoVexa in your browser at http://local.demovexa.com:1557. That address points at your own computer. From there the setup matches the desktop app: sign in, connect Claude and ElevenLabs, and add your product as a Workspace. The install guide covers each step.
[Image: a terminal running demovexa run next to the studio open in a browser]
#Useful options for demovexa run
--port 1600runs it on another port.--no-openstarts it without opening the browser.--ipuses 127.0.0.1 instead of local.demovexa.com, for browsers that insist on HTTPS for that name.
#Keep it separate from the desktop app
The CLI keeps its data in its own folder: ~/Library/Application Support/DemoVexa CLI on macOS, %APPDATA%\DemoVexa CLI on Windows and ~/.local/share/demovexa-cli on Linux. Set DEMOVEXA_HOME to move it. Because the folders differ, you can have the CLI and the desktop app installed side by side.
#Which commands does the CLI include?
The CLI has nine commands, all for running and maintaining the studio:
| Command | What it does |
|---|---|
demovexa run | Start DemoVexa and open it |
demovexa stop | Stop a DemoVexa started in another terminal |
demovexa status | Installed and published versions, whether it's running, where the data is |
demovexa update | Install the newest build (stop DemoVexa first) |
demovexa logs | The server log (--follow keeps watching) |
demovexa mcp | The command that connects Claude Code or Claude Desktop to it |
demovexa trust | Real HTTPS on the local address |
demovexa untrust | Remove that again |
demovexa uninstall | Remove the downloaded builds (--all removes your data too) |
demovexa logs --follow is the one to keep open in a second terminal while a build runs. If something fails, the reason is there.
The local address uses plain http, which browsers mark "Not secure" even though nothing leaves your machine. demovexa trust creates a small certificate authority on your computer and adds it to the system trust store, so the browser shows a lock. The key stays in the data folder.
#How do you make the video from your terminal with Claude Code?
Connect Claude Code to DemoVexa once, then ask for videos in plain words. Claude talks to DemoVexa through MCP, the Model Context Protocol, and DemoVexa makes the video as if you had clicked the buttons.
#Connect it
In DemoVexa, open App settings, then Connect to Claude. Under Claude Code, copy the command. It starts with claude mcp add. Paste it into your terminal and start a new Claude Code session. The demovexa mcp command also prints the connection command.
[Image: App settings with the Connect to Claude page and the Claude Code command]
#Ask for the video
Right after you ship, ask something like "make a launch video for what we just built". According to the docs, Claude Code passes a summary of the change, the changed files and the commit messages to DemoVexa, so the video shows the right screens. Other requests the docs list as examples:
- "What's the status of my latest video?"
- "Render the vertical version."
- "Give me the LinkedIn post for Data Rooms."
- "Suggest three video ideas for the Contacts module."
Making a video this way takes it from brief to finished output: script, voiceover, scene plan, build, renders, posts and covers. You can ask for a length, up to 3 minutes. See the Claude MCP page for the full list of tools.
#What happens between the command and the MP4?
The same steps as in the app. DemoVexa writes a Brief from your request, then a Script, scene by scene. ElevenLabs reads it as the Voice in any of 85 languages, or you can skip ElevenLabs and use captions over music. In Animate, a build agent recreates your screens as React components from your code and animates them with Remotion, using clean sample data. Export renders 1080p MP4s in 16:9, 9:16 and 1:1, and the Marketing kit adds covers and post copy.
Nothing here records your screen. That matters for developers, because the next time the UI changes you rebuild instead of re-recording. The features page walks through each step.
[Image: the scene plan for a launch video with each scene tied to a source file]
#Where your code goes
DemoVexa runs on your computer. Your code, voiceovers, projects and renders stay on your disk. Only what a build needs goes straight to Claude through your own Anthropic account, and API keys sit in your operating system's keychain. The DemoVexa cloud receives sign-in, licence and usage counts, not your code.
#What can't the CLI do yet?
Based on the current docs, the CLI does not have commands like "make video" or "render" that run without the studio. Those steps happen in the studio or through Claude over MCP. If you want several videos built unattended, the studio's batch builds can run overnight, but you start them from the Projects page, not from a flag.
If you are planning a CI job that renders a demo on every merge, check the docs for changes first. Today the honest answer is that Claude Code in your terminal is the closest thing to a scripted workflow.
Frequently asked questions
How do I install DemoVexa from the command line?
Run `npm install -g demovexa`, then `demovexa run`. It needs Node.js 20 or newer and works on macOS, Windows and Linux. The first run downloads the current build and opens the studio in your browser.
Can I render a product demo video with a single CLI command?
Not with the CLI alone. The CLI starts, stops, updates and troubleshoots DemoVexa, while rendering happens in the studio. If you connect Claude Code, you can ask it from your terminal to make or render a video and it asks DemoVexa to do the work.
Does the DemoVexa CLI upload my source code?
No. DemoVexa runs on your computer and your code stays on your disk. Only what a build needs is sent straight to Claude through your own account, and DemoVexa never sees it.
Can I use the CLI and the desktop app on the same computer?
Yes. The CLI stores its data in a separate folder from the desktop app, so both can be installed side by side. You can move the CLI's data with the `DEMOVEXA_HOME` environment variable.
Why does my browser say "Not secure" for local.demovexa.com?
The local address uses plain http, which browsers label "Not secure" even though it runs on your own computer. Run `demovexa trust` once to set up real HTTPS with a certificate that stays on your machine. `demovexa untrust` removes it.
Keep reading
All posts
How to Build Repeatable Demo Videos for Software Releases
Treat demo content as a maintained release asset. A practical guide for release engineers who need accurate product videos without unnecessary recording work.
Baltej Singh 5 min read
How to Review AI-Generated Product Demo Scripts
Catch invented features and wrong product language. A practical guide for engineering leads who need accurate product videos without unnecessary recording work.
Baltej Singh 5 min read
How to Use Sample Data Safely in Software Demos
Show believable workflows without exposing customers. A practical guide for developers who need accurate product videos without unnecessary recording work.
Baltej Singh 5 min read